You picked up Boya crayons and want to make something bright and fun. Great choice! This guide Boya Crayons Tutorial gives step by step instructions you can follow easily. You will learn core techniques, blending, tips and tricks, drawing ideas, and a clear step by step plan. It works for kids and for artists who want a fast start.
Why Boya Crayons Feel Different
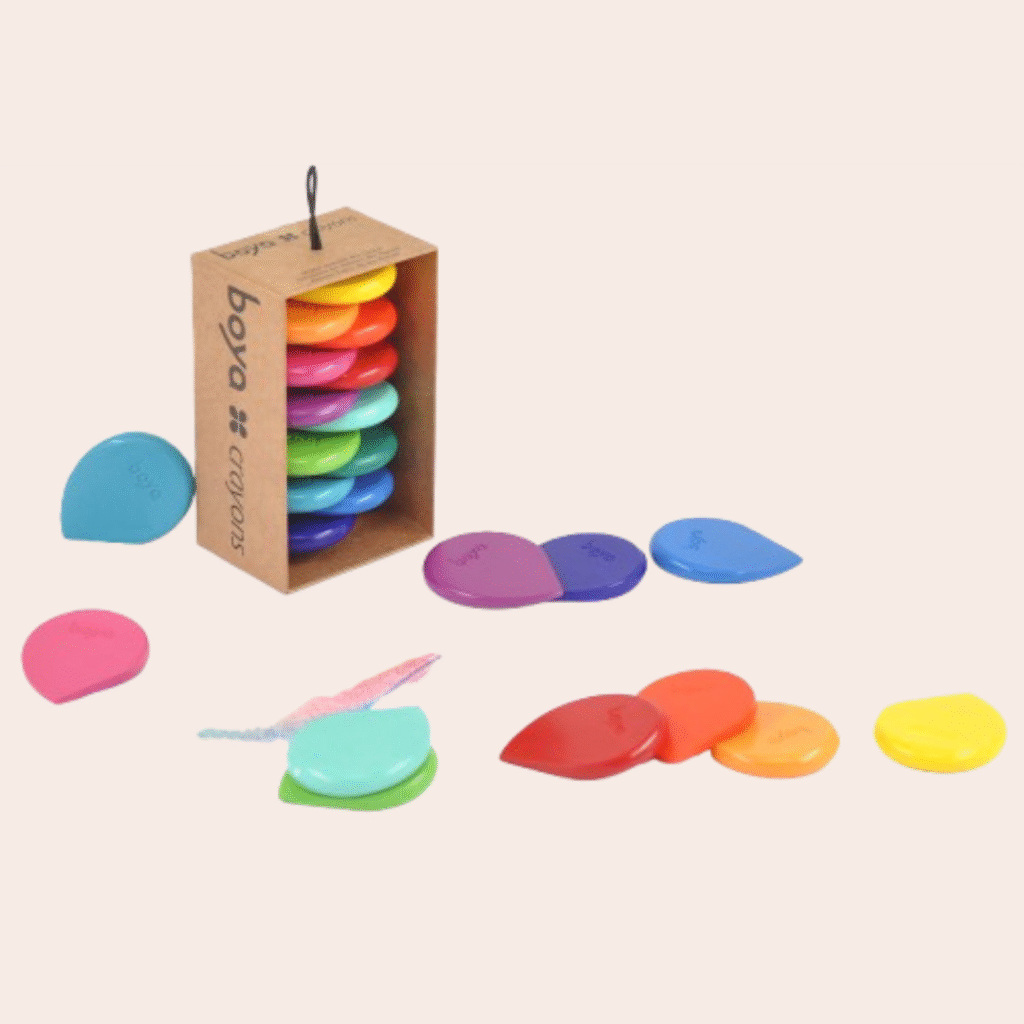
Boya crayons glide with light pressure. Color goes down smoothly and evenly. The shape sits well in the hand, so control feels natural. This makes them friendly for beginners and still useful for artists who want bold, color fast results. Less pressure also means fewer heavy wax spots and cleaner layers!
What You Need to Start
Paper with a slight tooth gives the best grip. A plain sketch pad works well. Keep a soft tissue, a kneaded eraser, and cotton swabs nearby for blending tricks. Sharpening is not needed. If a tip wears down, rotate the crayon to a fresh edge.
How to Use Boya Crayons Step by Step
- Sketch a light outline with a pale crayon. A soft gray or peach keeps the guide subtle.
- Block the main areas with gentle flat strokes. Use the side of the crayon to cover the space quickly.
- Add a second pass in the same color to even things out. Keep pressure light.
- Deepen shadows with a darker neighbor color. Do not jump straight to black unless you want a strong style.
- Pull out highlights by leaving paper white or by lifting a little color with a kneaded eraser.
- Finish edges with the tip of the crayon for clean lines and small details.
- That is the basic Boya crayons tutorial. It is simple, steady, and gives a smooth base for more work!
Boya Crayon Techniques You Will Use Often
Hatching and crosshatching
Make short lines that follow the form. Add a second layer at a slight angle to build depth. Keep lines close together for a smooth tone.
Scumbling for texture
Use tiny circles with light pressure. This fills the tooth of the paper without harsh streaks. Great for skin, clouds, and soft shadows.
Pressure control
Press lightly for pale color. Press medium for a strong mid tone. Press hard only at the end for a punch of color. This single habit improves every drawing!
Edge play
Use the side for soft areas and the edge for crisp marks. Switching often adds energy and clarity without changing tools.
How to Blend Boya Crayons
You can blend in a few easy ways. Try each and pick the one you like!
1- Dry blend with tissue: Lay two colors side by side. Fold a tissue and rub gently over the seam in small circles. This softens the edge and mixes the colors a little. Repeat with fresh tissue for a cleaner blend.
2- Finger blend: Wash and dry your hands first. Warmth helps melt the wax slightly. Rub softly where the colors meet. This gives a smooth and creamy look. Do not overwork or the paper may get shiny.
3- Cotton swab blend: Good for small spots like cheeks or reflections. Load a bit of color, then swirl with the swab to even it out.
4- Layer blend: Place a light color first, then a darker color on top, then the light color again. Three thin layers beat one heavy layer. Colors fuse and look deeper.
5- Lift to blend: If a spot looks too strong, tap it with a kneaded eraser to lift a little pigment. Add a lighter color over it. This soft reset keeps the surface fresh.
Boya Crayons for Beginners
Keep it simple. Pick three colors plus a dark and a light. For example, a warm yellow, a bright red, a cool blue, plus a darker blue for shadows and white paper for highlights. Limit your palette and you will learn faster!
Practice drills
- Value bars. Make a row from light to dark with one color.
- Soft blends. Fade yellow into red, then red into blue.
- Edge control. Draw a circle and keep the outside edge crisp while blending the inside.
These small exercises build muscle memory so real drawings feel easier.
Boya Crayons for Kids
Set up a short art routine. Ten minutes of color time with easy prompts works wonders. Ask for a sunny sky with a house and a tree. Praise tidy color zones and gentle pressure. Show how to hold the crayon close to the tip for control or farther back for broad strokes. Keep wipes and a scrap sheet nearby so kids can test colors before touching the main page.
Safety and cleanup are simple with Boya crayons. Color stays on the paper with normal use. Hands wipe clean with mild soap and water!
Boya Crayons for Artists
Think in layers and edges. Use light layers to build form. Use hard edges only where you want focus. You can combine Boya crayons with graphite for underdrawing or with colored pencil for crisp finishing lines. If you like mixed media, add light watercolor washes first, let the page dry, then glaze with crayons on top. The wax resists and creates lively textures.
For archival-minded artists, store drawings flat in sleeves. Avoid stacking heavy layers of wax face-to-face. Use glassine sheets between works if you plan to carry them in a portfolio.
Boya Crayons Tips and Tricks
- Swatch your colors on the page margin so you know how they look on that paper.
- Reserve your brightest color for the last pass so it stays fresh!
- Build shadows with complements rather than black. For yellow, try a touch of purple. For red, try a hint of green.
- Use a ruler edge as a mask to get clean horizons or architectural lines.
- If a surface gets too shiny, stop adding pressure. Switch to light crosshatching or lift a little with the kneaded eraser, then glaze a thin layer again.
Boya Crayons Drawing Ideas
- Fruit on a plate with a side light. Practice round forms and soft shadows.
- A cup and spoon on a napkin. Mix crisp metal edges with soft fabric folds.
- A simple landscape with sky gradation, distant hills, and a tree in front.
- Pets and plush toys. Great for fur textures using short strokes and scumbling.
- Abstract color studies. Make overlapping shapes and blend where they meet.
Pick one idea and time yourself for twenty minutes. Short sessions build confidence and reduce overthinking!
A Mini Project You Can Finish Today
Title. Citrus still life
Steps
- Sketch a lemon and an orange with light guidelines.
- Block the lemon with pale yellow and the orange with light orange.
- Add a second pass of the same colors to even coverage.
- Shade the lemon with a touch of green on the shadow side. Shade the orange with a touch of red on the shadow side.
- Blend each shadow gently with a tissue.
- Add a soft gray oval on the table for the cast shadow.
- Pull a highlight on each fruit by lifting a small spot with the kneaded eraser.
- Sharpen edges where needed with the crayon tip. Sign your work!
- This quick Boya crayons tutorial shows blocking, layering, blending, and lifting in one sitting.
Common Question :
-
How to use Boya crayons without streaks?
Color with the side of the crayon first. Keep strokes in one direction. Add a second light pass at a slight angle to even it out.
-
How to blend Boya crayons into smooth skin tones?
Layer peach, a little pink, and a touch of yellow. Dry blend with a tissue. Lift highlights. Add a final thin glaze of peach to unify.
-
Can kids and artists share the same set?
Yes. Teach kids light pressure and clean hands. Artists can still get rich tone and crisp details with the same crayons.
-
How to fix a mistake?
Lift gently with a kneaded eraser. Glaze a lighter color over the area. Redraw details with a steady hand.
Wrap Up
You now have a clear path for Boya crayons for beginners and for artists. Start with simple shapes. Practice pressure control. Learn a few reliable Boya crayon techniques. Blend with tissue or finger when you want a soft look. Keep tips and tricks handy so you can solve small issues fast. Use the step-by-step mini project to lock in the workflow. With steady practice, your drawings will look richer, smoother, and more confident every week!