Oh no! Your little artist just left a vibrant crayon masterpiece on an important paper, and now you’re wondering how to erase it without ripping the page. Don’t panic, it is possible to remove crayon from paper if you use the right approach. Crayon marks are stubborn because crayon is wax-based and the wax melts into paper fibers, making the marks difficult to remove. But with a bit of patience and the correct techniques, you can get that paper clean again. In this playful yet instructional guide, we’ll walk you through exactly how to erase crayon on paper step by step, while keeping the paper intact. Let’s turn that “oops” into an easy fix!
Why Crayon Marks Are Tough to Erase
Crayons create bold, colorful drawings that kids love, but those same waxy traits make cleanup tricky. When a crayon scribble happens on paper, the wax binds to the paper’s fibers as it goes on. Unlike pencil marks (which sit on the surface as graphite dust), crayon wax actually grips the paper. This is why simply rubbing with a regular eraser often just smears the color instead of removing it. The situation can be even tougher on very absorbent or thin paper (like newsprint or notebook paper), which soaks up the wax more. Smoother, coated paper (like glossy magazine pages or cardstock) won’t hold the crayon as strongly, so those can be easier to clean. No matter the paper type, the key is to lift that waxy pigment gently without grinding it deeper into the page.
Can you erase a crayon from paper? Absolutely, but it requires a gentle touch and the right tools. Regular pencil erasers alone may not do the trick, yet there are proven methods that can help. Below, we’ll cover several techniques to remove or lighten crayon marks on paper. Always remember to start with the least aggressive method and only move to stronger measures if needed. This way, you’ll avoid hurting the paper. Now, let’s gather our tools and get set up for crayon cleanup!
Preparation: Setting the Stage for Crayon Removal
Before you jump into erasing the crayon, take a moment to prepare your workspace and materials. A little prep can prevent further mess or damage:
Choose a Good Spot: Work on a flat, clean surface like a table. Lay the paper flat so you can apply even pressure. It helps to put a clean sheet of paper or a towel underneath the page you’re cleaning. This protects the table and also absorbs any wax or solvent that might soak through. (If you’re dealing with a page in a book, put a sheet of paper behind the page to protect the other pages.)
Gather Your Tools: You’ll want a soft, high quality eraser (art gum or kneaded erasers work great), some clean soft cloths or paper towels, and optionally a bit of rubbing alcohol (isopropyl alcohol) for stubborn marks. Avoid colored or printed paper towels or cloths that could transfer dye. Having everything ready will let you work efficiently while the paper stays stable.
Be Gentle: Keep in mind that paper is fragile. Make sure your hands are clean and dry. Remove any dust or grit from the paper by gently wiping it with a dry cloth. You don’t want to rub in any dirt. If the document is super important (like a treasured drawing or important form), maybe practice on a similar scrap paper with a crayon mark first to get a feel for the methods. And always test any liquid (like alcohol) on a corner or edge of the paper to ensure it won’t discolor or wrinkle it.
With your area set and tools in hand, you’re ready to tackle the crayon art attack! Let’s start erasing those crayon marks, one step at a time.
Method 1: Gently Erase with a Soft Eraser
Erasers aren’t just for pencils, a good eraser can lift crayon marks too, as long as it’s the right kind. Grab a soft, high-quality eraser (such as a kneaded rubber eraser or an art gum eraser). These are better than the hard pink erasers on pencils, which can be too abrasive. A soft eraser is designed to lift away waxy or colored media without tearing the paper.
How to use it: Gently rub the eraser over the crayon mark in small, circular motions. Don’t press too hard. Let the eraser slowly “grab” the wax. You should see the colored wax start to come off onto the eraser. Keep rotating or cleaning the eraser to use a fresh area as it clogs up with crayon bits. If you notice the crayon smear or the eraser leaving crumbs, stop and brush the debris away carefully (don’t smear it back in). Patience is key here, light, repeated strokes will gradually lift the crayon. It’s almost like magic seeing the crayon lighten! This method works best for light crayon marks or outlines. For heavier coloring, an eraser alone might not get it all, so move on to additional tricks if needed.
Method 2: Blot the Wax with Paper or Cloth
Before reaching for any solvents, try a simple blotting technique. This can help remove a surprising amount of waxy residue without any chemicals. All you need is a clean white cloth, paper towel, or blotting paper.
How to blot: Place the cloth or paper towel over the crayon mark. Then press down firmly but gently on the area for a few seconds and lift straight up. The goal is to transfer some of the crayon from the paper onto the absorbent cloth. Check the cloth, you might see a faint rainbow smudge, which is good! Move the cloth to a clean spot and repeat the dabbing or blotting on another part of the crayon mark. Do not rub the cloth back and forth, as rubbing can spread the wax or push it deeper. Just press and lift, kind of like using a sponge.
You may need to blot several times with fresh sections of cloth. Little by little, this can lift off the top layer of waxy crayon. Blotting is especially useful if the crayon area is large or heavily colored in, as it soaks up loose wax before we try other methods. Once it seems like nothing more is coming off onto the cloth, you can move on to the next step. (If a lot of crayon came up, grab a new clean cloth so you don’t accidentally redeposit wax on the paper later.)
Method 3: Carefully Scrape Off Excess Crayon
For stubborn or thick crayon blobs, a gentle scraping can help remove the wax buildup. This sounds scary, but if done with care it can lift crayon without tearing the paper. The trick is to use a dull, flat tool, something like a plastic spoon, a credit card edge, or the back (dull side) of a butter knife. Do not use anything too sharp like a razor, as it will likely cut the paper.
How to scrape: First, put a clean sheet of paper or a cloth underneath the page you’re working on (if you haven’t already) to catch the wax scrapings. Hold your dull tool almost parallel to the paper and gently push it under the crayon wax at a shallow angle. You’re trying to flake or scoot the wax off the paper’s surface. Use light pressure, you might see little curls or bits of crayon coming off. Wipe those bits away so they don’t get mashed back in. Work in one direction (scraping with the paper’s grain if possible), rather than back and forth, to minimize friction on the paper.
If the tool starts catching on the paper or you feel resistance, stop and adjust, you might need a slightly sharper angle or just be more gentle. Take your time and work on small sections. This method is great for getting the bulk of the crayon off, though it might not remove the colored stain entirely. Once you’ve removed as much solid wax as you can by scraping, you can return to the eraser or move to a cleaning solution for any remaining color.
Method 4: Dab with a Bit of Rubbing Alcohol (Chemical Method)
After trying erasers, blotting, and scraping, you might be left with a faint colored stain or some wax still ground into the paper. When the purely mechanical methods don’t fully do the job, it’s time to bring in a little chemical help. The safest household solvent to try is isopropyl alcohol (rubbing alcohol), because it can dissolve wax but evaporates quickly and is relatively gentle on paper. Avoid stronger chemicals unless absolutely necessary, as they can damage the paper or leave it soggy.
How to use rubbing alcohol: Dip a cotton swab or the corner of a soft cloth into the rubbing alcohol. Do not soak it, just a little bit will do. Now gently dab the alcohol onto the crayon mark. You should see the area get slightly wet, don’t saturate the paper, just moist. Let it sit for a few seconds as the alcohol starts to break down the waxy pigment. Then take a clean dry cloth and blot the spot to lift the dissolved crayon. You might notice some color coming off onto the cloth. Use a new section of cloth and repeat the dabbing and blotting a few times. Slowly, the remaining crayon should transfer off the paper.
Be patient and avoid scrubbing with the alcohol. Dab and blot, dab and blot is the mantra here. If the stain is particularly stubborn, you can try a second round with alcohol, but always test that the paper can handle it. Once it looks clean, blot the area one more time with a dry cloth to absorb any extra moisture. Then let the paper air dry completely before you write on it or put it away. The crayon mark should be much lighter or gone! And the alcohol should evaporate without leaving any residue or ring, as long as you didn’t over-wet the paper.
A note of caution: Some sources suggest using stronger solvents like lighter fluid or special cleaning agents for art restoration. While these can work for really impossible crayon stains, they are very harsh and flammable, and not really necessary for typical crayon mishaps. Stick to rubbing alcohol (and plenty of patience) as your top chemical option. If a document is super valuable (like a rare book or artwork), it’s best to consult a professional rather than risk DIY chemical tricks.
By now, you know the core methods to erase crayon from paper. Before we wrap up, keep these bonus tips in mind to ensure success without mess:
Start Gentle: Always begin with the mildest method (eraser or blotting) and only escalate to solvents if needed. This minimizes the chance of harming the paper.
Work Slowly: Take your time and use light, gentle motions. Rubbing hard or fast can rip the paper or grind the wax further in. Slow and steady wins this race.
Blot, Don’t Rub: Whether using a dry cloth or with alcohol, dab or blot the crayon, don’t scrub in circles like you might on a countertop. This prevents spreading the stain.
Test First: If you plan to use any liquid (even water), test on a corner or similar paper to ensure it doesn’t cause ink to run or paper to wrinkle. Every paper type is different.
No Heat on Paper: Resist the urge to iron or heat the crayon mark. Heat can melt the wax deeper into the paper fibers, making the stain worse and more permanent. (Heat methods are great for fabric or wall crayons, but not for paper!)
Dry Completely: After any damp treatment, let the paper air dry fully (ideally under a weight to prevent warping). This avoids any lingering moisture that could lead to wrinkles or mold.
If you follow these tips along with the methods above, you’ll greatly increase your chances of success, and you’ll keep the paper in one piece, too!
Use High Quality, Kid-Friendly Crayons (for Fewer Mishaps!)
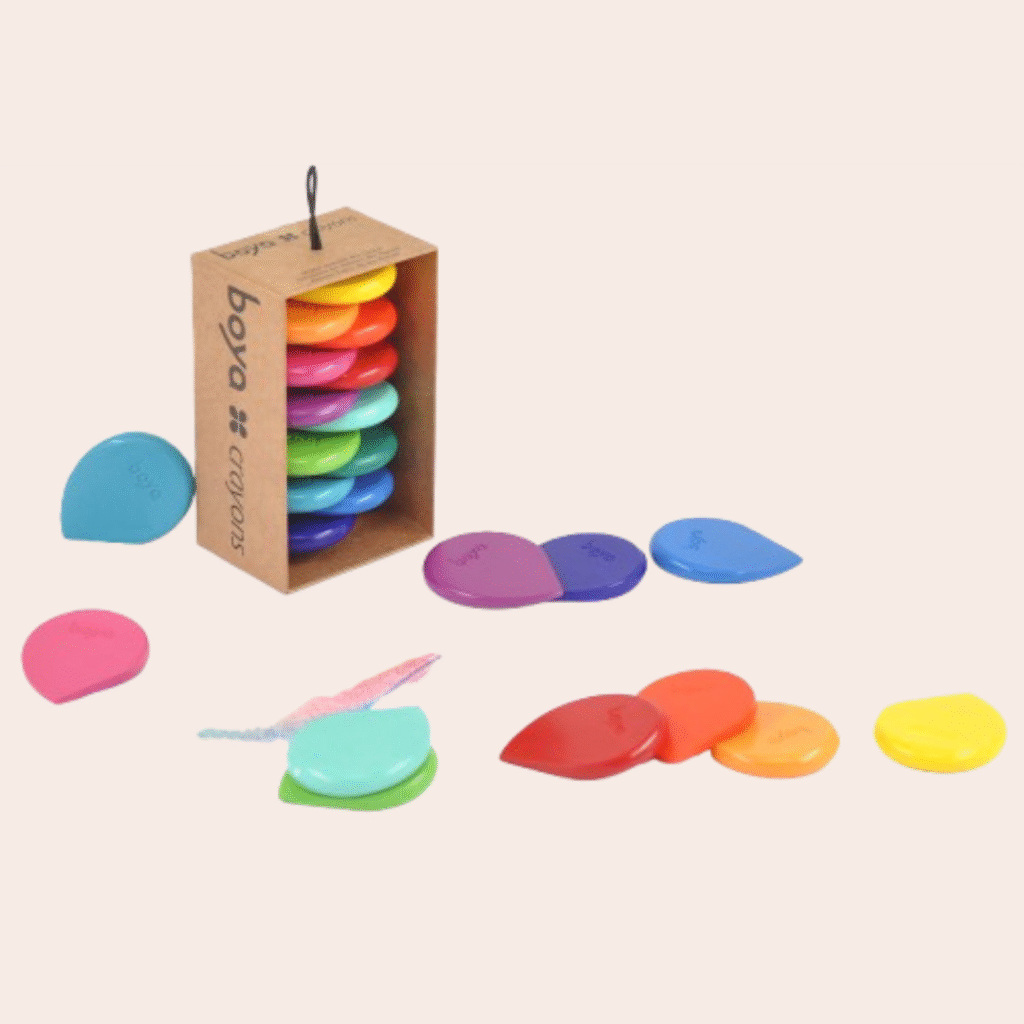
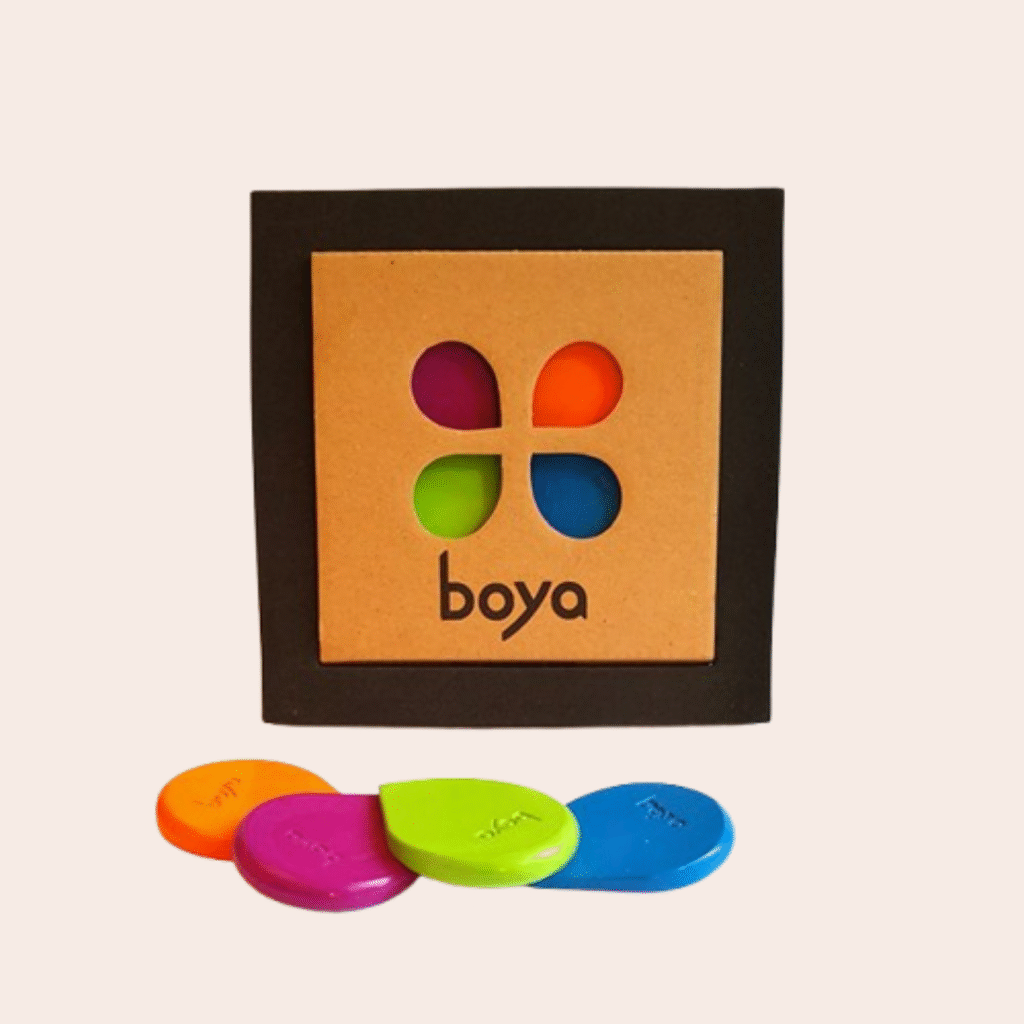
One way to prevent crayon disasters is to choose your art supplies wisely. High-quality crayons tend to have better pigments and formulations that make them less messy and easier to control. For example, Boya Crayons (available through SkriblBox) are a fantastic choice for little artists. These award-winning crayons are non-toxic, ergonomic, and easy for kids to grip in their little hands. Their unique teardrop shape not only helps children draw and color comfortably, but also encourages them to use the crayon on paper (and not on your walls or important documents!). Plus, Boya crayons are richly pigmented, so kids get bright colors on the page without needing to press super hard. That means fewer heavy wax deposits to clean up later.
Playful tip: Make a fun art station for your child with plenty of paper and their favorite crayons (like those awesome Boya crayons). When kids have a dedicated space to create, they’re less likely to wander off and decorate the wrong surface. And if a crayon mark does end up where it shouldn’t, at least you know it’s a quality crayon that’s easy to wipe off skin and tables, and now you’ve got the knowledge to remove it from paper too!
(You can check out Boya crayons on SkriblBox’s website to see how their design can make art time both fun and parent-approved.)
Conclusion
Crayon scribbles on the wrong paper might seem like a catastrophe in the moment, but now you know how to fix it. To recap, can you erase crayon from paper? Yes, by patiently lifting away the wax, step by step. Start with gentle erasing and blotting, scrape carefully if needed, and use a tiny bit of rubbing alcohol to finish the job for those last bits of color. Remember to be kind to the paper: work slowly, avoid harsh rubbing, and never add heat. With these techniques, you can restore your paper close to its former glory without any glaring crayon marks.
Most importantly, don’t let the fear of a little mess stifle your child’s creativity. Crayons are made for colorful self-expression, and occasional “abstract additions” to unwanted places are bound to happen in any creative household. Now that you’re equipped to handle crayon accidents, you can let your young Picasso draw with confidence. So stock up on some good paper, grab a pack of quality crayons (we love the Boya brand for their kid-friendly design), and enjoy the art adventures, worry-free! With a bit of cleanup know-how, you and your child can both stay happy even when crayons venture beyond the lines. Happy coloring, and good luck erasing those little crayon capers!
A colorful crayon drawing on paper, adorable until it’s somewhere it shouldn’t be! But don’t worry, with the right techniques, you can remove crayon marks from paper and keep your art (and important documents) looking neat.