Acrylic ink stands out in the wide world of artistic expression as a vibrant, adaptable medium that has drawn the attention of artists everywhere. Acrylic ink offers you a world of possibilities for all skill levels and beginners alike.
We will dive into the intriguing world of acrylic ink in this thorough guide, going over its use, types, and advice to help you realize its full potential.
What is acrylic ink?
The liquid form of acrylic ink is created by mixing water and acrylic binder. It dries quickly after being highly pigmented. For a multitude of applications, including mixed-media projects, a, and drawing, acrylic ink is ideal because it is thinner and more fluid than conventional acrylic paint.
Using quality acrylic ink is a must to create magic and for that skriblbox got your back. You can find top-notch quality acrylic ink on our website.
What is acrylic ink used for?
Before learning how to use acrylic ink let’s know some basics of acrylic ink. Acrylic ink is a vibrant, adaptable medium that can be used for a variety of artistic applications. These are a few typical uses for acrylic ink.
SHOP NOW OUR 30ML ACRYLIC INK
◆ Traditional Painting:
One classic painting medium is acrylic ink. As an artists you can apply ink to a variety of surfaces, including canvas, paper, wood, and more, using paint brushes or other tools.
◆ Drawing:
The most basic use is drawing. Acrylic ink is used by artists to draw fine detailed images, shapes or scenarios.
◆ Calligraphy:
Acrylic ink is widely used in calligraphy because of its vivid colors and smooth consistency. Calligraphers create beautiful and expressive letters with brushes or pens.
◆ Illustration:
It is a common medium used by illustrators. Acrylic ink can be used to create detailed and vibrant illustrations due to its intense colors and versatility.
◆ Textile Design:
The use of acrylic ink is widespread in this field. It is applied to textiles by designers and artists to produce unique designs. When ink is heat-set properly, it becomes permanent on fabrics.
◆ Crafts Projects:
A most loved medium for DIY enthusiasts. Acrylic ink is widely used for a variety of craft projects, such as card making, DIY art, and home décor. Its ability to dry quickly is useful for projects where speedy results are required.
◆ Techniques for Fluid Art:
Acrylic ink is frequently used for pouring, dripping, and marbling effects in fluid art. When combined with pouring media, it produces visually captivating and dynamic effects.
Choosing the best acrylic paint for beginners
A stepwise guide on how to use acrylic ink
◆ Step 1: Assemble Your Materials
Before you start the creative journey, make sure you have everything you’ll need:
- 1- Set of acrylic inks
- 2- Brushes (various sizes for maximum versatility)
- 3- A sketchbook with mixed media or watercolor paper
- 4- A palette or surface for mixing
- 5- A cup of water for cleaning brushes
- 6- For wiping and cleaning, use paper towels.
◆ Step2: Select your medium to work on
Pick the surface you want to use for your artwork it could be a canvas or a sheet. The ideal medium for acrylic ink is watercolor paper or a mixed-media sketchbook, as they offer the absorbency required to ensure a smooth ink flow. To prevent warping, secure your canvas to a flat surface.
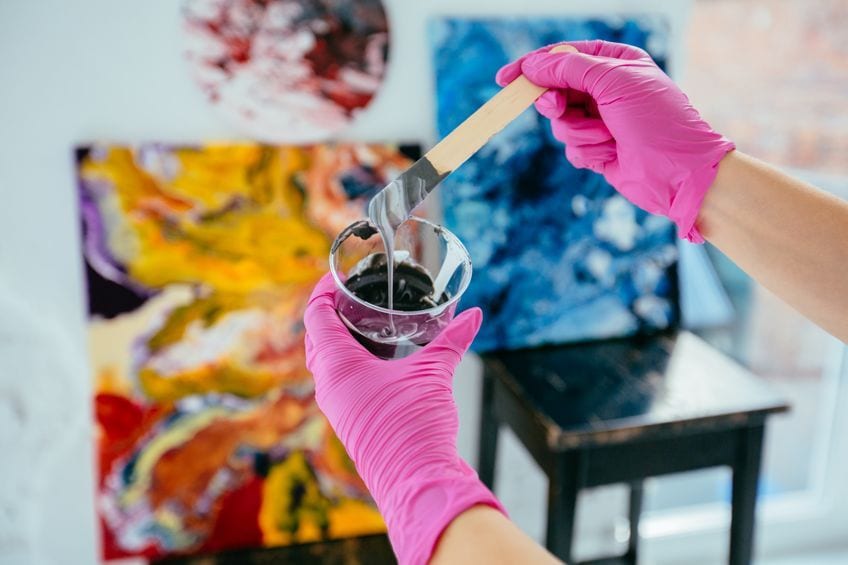
◆ Give Everything a Stir
Now time for shaky shaky. Acrylic ink is a liquid medium, so it needs a good shake. To guarantee the pigments are well combined. Achieving consistent color intensity requires taking this step.
◆ Step 4: Combination
Put tiny droplets of acrylic ink on your mixing surface to create a color palette. Try different color combinations and blends to create distinctive tones. The smooth blending of acrylic ink is what makes it so beautiful.
◆ Step 5: Get set, get sketching!
The best way to create an ideal artwork start by making a crude pencil sketch of your concept. Once the outline is to your satisfaction, use acrylic ink to give it life.
◆ Step 6: Stroke and Dip
Apply the acrylic ink to your canvas by dipping your brush into it. Try varying the thickness, layering, and brush strokes to give your artwork more depth and dimension. Don’t be scared to scribble freely and make impromptu designs.
◆ Step 7: Adopt Contrast
Layer light and dark hues to create contrast. To stop bleeding, wait for some areas to dry before adding another layer. Your artwork will appear dynamic and visually arresting due to the contrast.
◆ Step 8: Finalize Details
Use smaller brushes as your artwork develops to add minute details. Take your time honing the intricate details of your creation because acrylic ink allows for precision.
◆ Step 9: Allow to Air Dry
The secret is to be patient! Let your creation completely dry before handling or adding finishing touches. This guarantees that the fine details and vivid colors stay sharp.
◆ Step 10: Close the Deal
The last step is to wait a little and sprinkle the magic to make the art last forever. After your artwork dries, protect it with a clear acrylic sealer or varnish. This enhances the colors for a polished finish while also protecting your creation.
Conclusion:
In conclude the above first of all congrats! Now you are good to create a masterpiece you have always dreamt of. Remember to celebrate your artistic expression and use this adaptable medium to experiment with new styles and techniques. Allow your imagination to run wild and observe the enchantment of acrylic ink as it transforms your canvas!
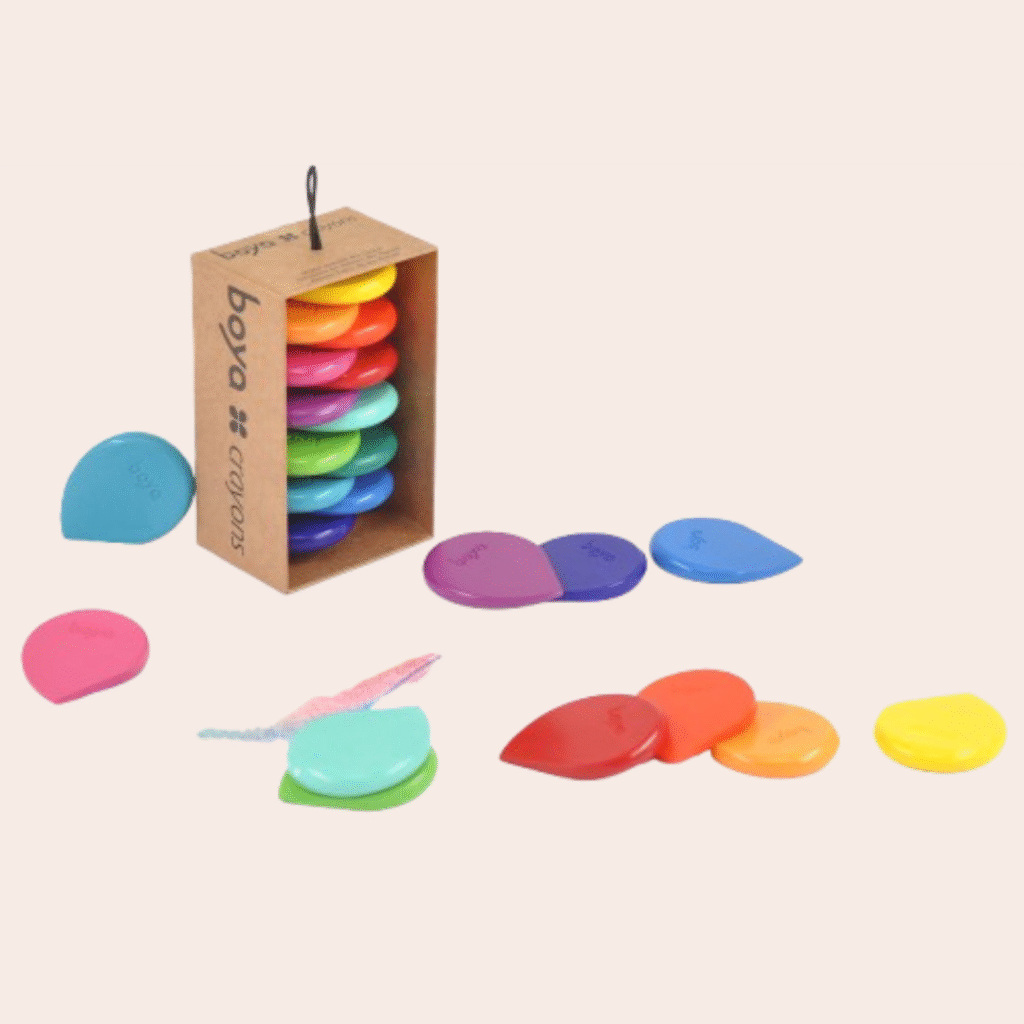
Boya Kids Dozen vs Makers Dozen Crayons: Which Set Should You Choose?
Looking at Boya Kids Dozen vs Makers Dozen crayons, many UAE parents and teachers face…
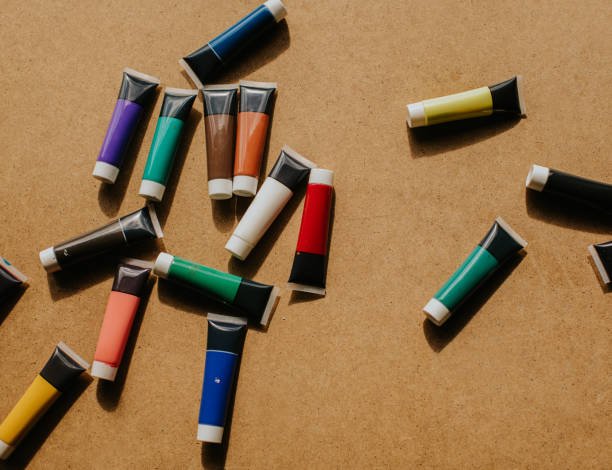
Best Acrylic Paint Brands 2026: Comparison Guide
Discover the best acrylic paint brands in UAE for beginners and professionals. Compare quality, versatility,…
Boya Four Color Sets: Basic vs Secondary – Which One Should You Buy?
If you’re looking to buy BOYA Art Supplies in the UAE, you’ll often come across…
